
![]()
This is the second part of the Starling edutainment project.
Along the corridor of the centre was a 25m long wall which they are to decorate. Therefore we were contracted to paint that part of the wall as well.
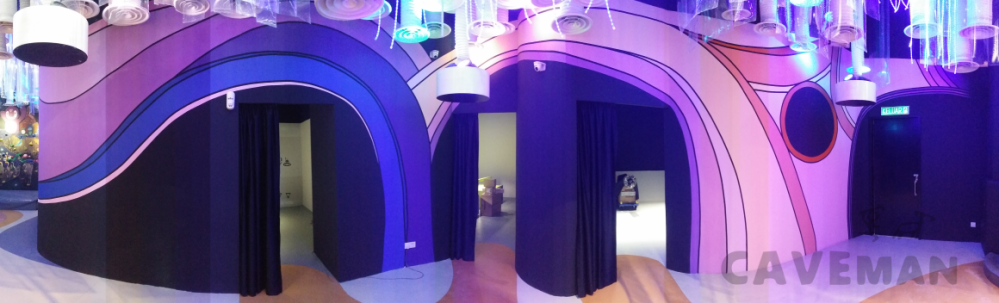
The hardest part of this mural is to cover a wall with different angles and curves while retaining the curvature of the wall.
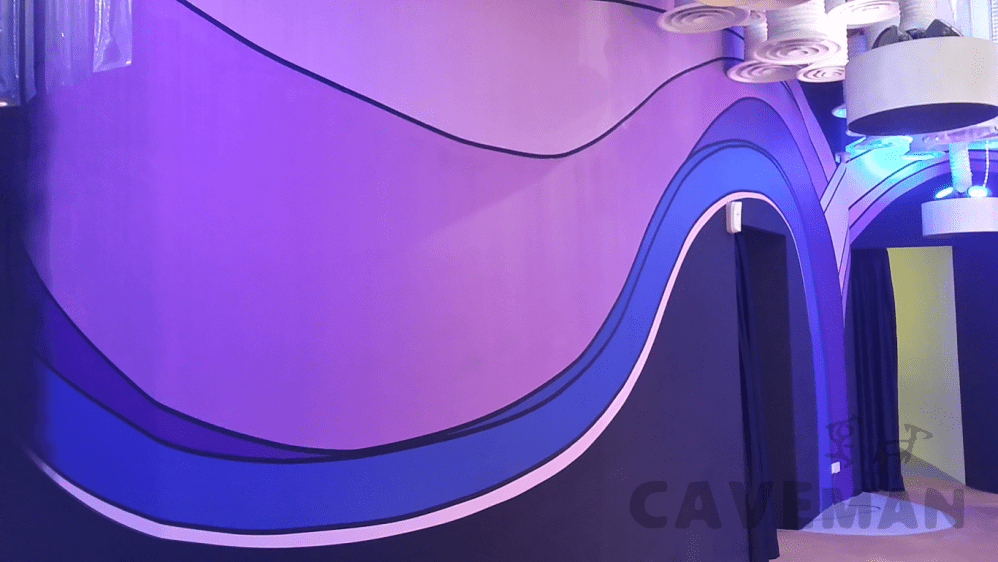
It took us 2 days alone just to trace the perfect curve along a curved wall surface. There are still imperfections due to the nature of the wall curve and angle however there is nothing we can do to defy the law of physics.
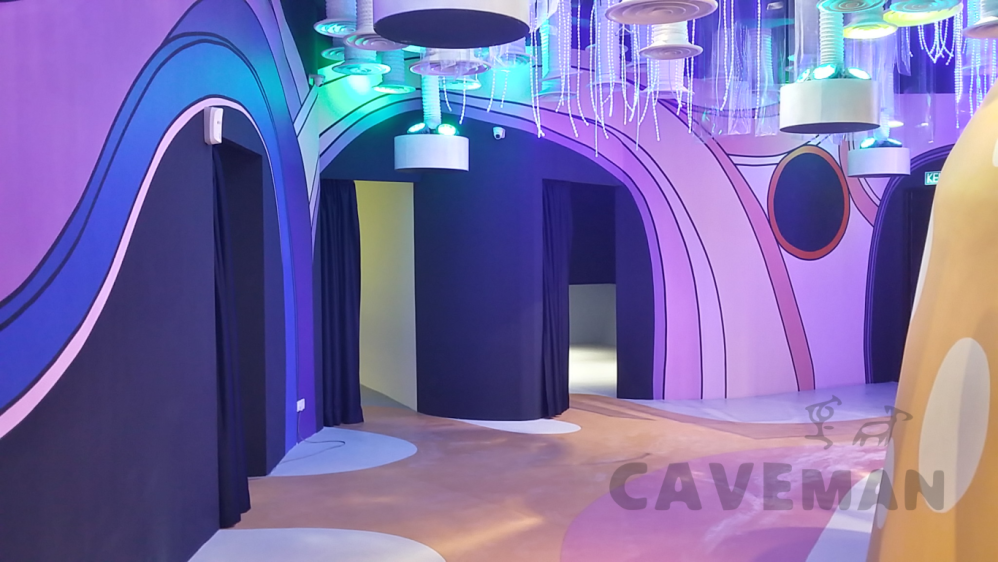
Without the wall painting mural, the physical walls at the centre looks square and boxy. And it was also because of the mural, the place looks slightly bigger than it looks.

Lessons and takeaways
The key to this mural is to find the best angle and then slowly adjust from there. All artworks are modified until it gives the effects of curvature. Because not all curvature can be used on certain angles.
Also, have a lot of patience. Do not strive for a sub-par level project. Have determination and high standards and you will achieve this results.
Bonus
We are also given a third wall in the edutainment centre to design a space shutter interior for them for their augmented reality space. However due to the complexity, we are not able to paint it with mural.
This is our first wall sticker project. Spanning 15m long x 2.7m high.

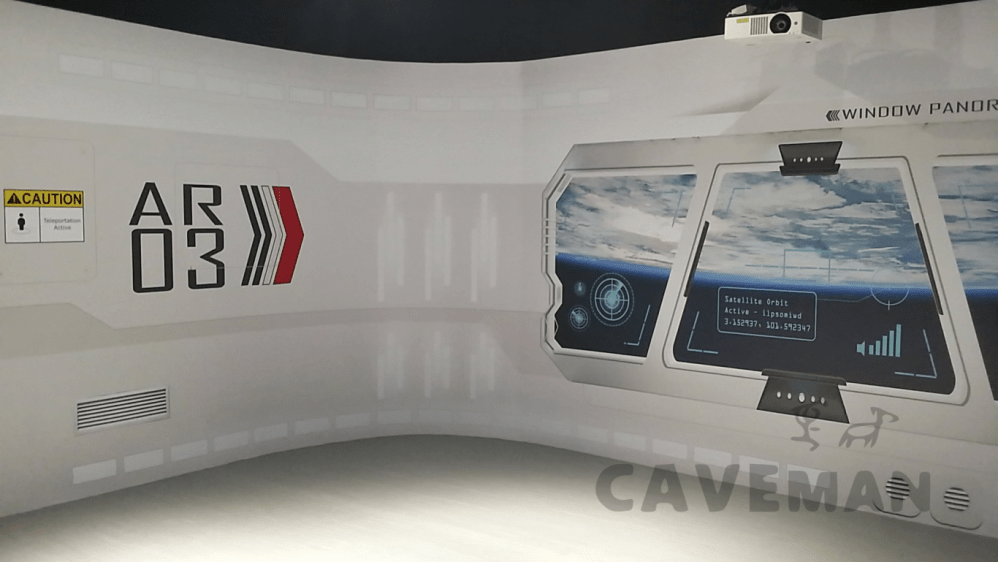
With careful planning of the environment and 3d design, we are able to capture the best placement of the design elements of the room. Because we know where the curvature and the entrance of the room is, we optimised the placement of the room into the following design.

For the fun of it, we even included a pitfall into the room as if you will fall over.

We incorporated a sci-fi door and window into our room.
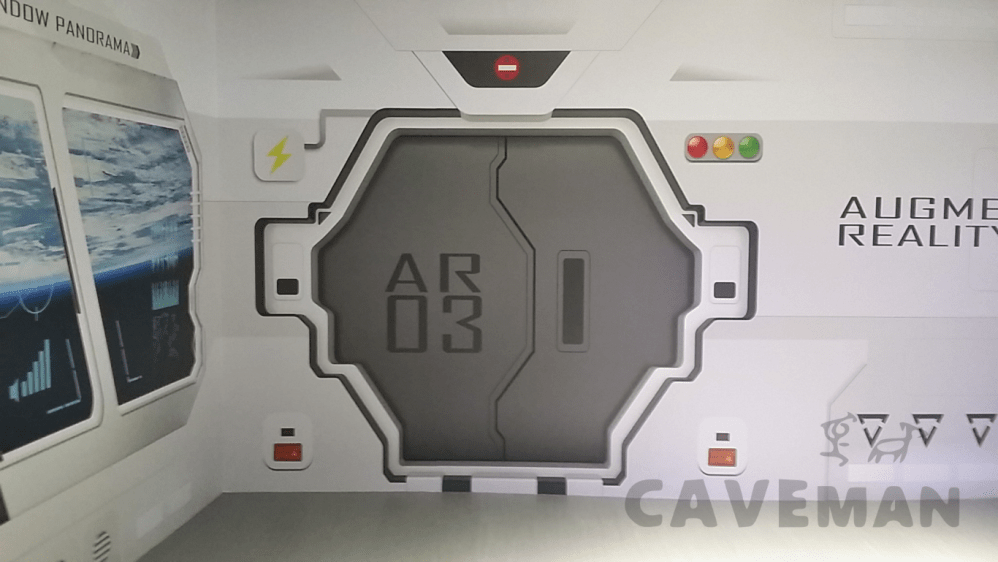
We have a huge window that stares out into space in the middle of the room. The window also displays information on the window.
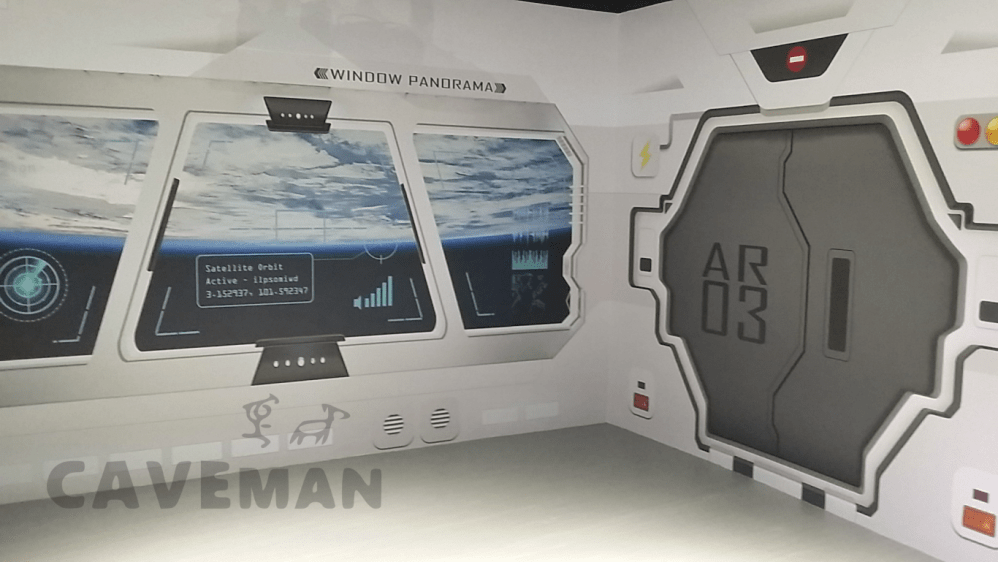
If you take notice, lighting and shadows are added into the design so the room looked slightly curved and round instead of a boxy space.
Every element is accurately measured according to the person and children’s height to maximise the children’s immersive experience.
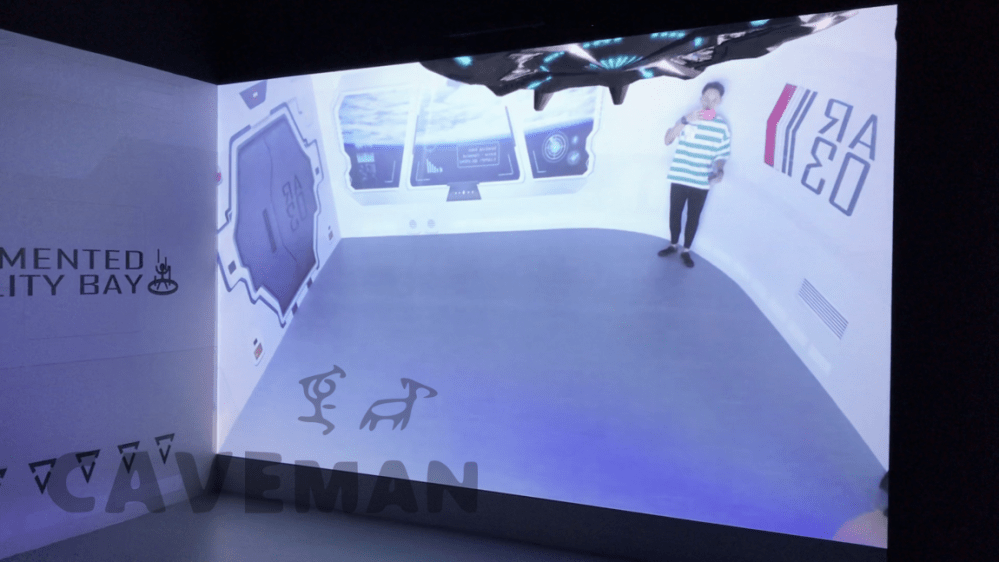
A UFO flying above the room as shown on the screen in front of the Augmented Reality room. The room with our background is shown in the screen.
Lessons and things to take note for wall stickers installation
Pristine and clean digital image rendition
This is the most important aspect in the process of the wall design prior printing the wall sticker.
As shown above, do bare in mind, this image is supposed to be 15m long in real life. And since it only fits in a small screen now, all you can see now is a compressed image with only the obvious elements like doors and windows and wall markings.
However, what you may not see is the noise of the digital art. Therefore it is apparent to zoom in every inch and spot of the digital image to check for impurities or noise that arise from photoshop. Clean up first only then send for production.
The importance of resolutions
Because this is a huge wall sticker, it is apparent to only use images with a resolution higher than 5000 pixels. The current stock image resolution used in our design is about 6000 pixels. On site, the image printed looks sharp enough to our standards. We made a huge mistake as well at the beginning setting a high DPI instead of a resolution causing computer crashes along the way. It would have save us a lot of time if we would have known this earlier.
Allow for buffer
Because all wall stickers are printed above a resin type of material, it is prone to stretch. And due to the installation method of all wall stickers being stretched, the graphics will indefinitely be stretched a few cm apart.
So to over come it, you have to factor in buffer space to stretch on the end sides of the design. This goes for each 90 degree turn and end of each wall sticker. Factor in an additional 10cm on each end as a buffer to avoid crop issues on your wall sticker.
Start in the middle
During the wall sticker installation, a long wall of wall stickers will be sliced about every 1.5m length into many individual wall stickers and installed from top to down. Therefore to ensure a balanced alignment, most installers will start installing the first sticker from the middle towards the left or right and vice versa.
It is better to bare in mind this rules of engagement during your design phase to avoid cropping issues due to stretching.
![]()
We are proud to be apart of this project and we hope this will give you insights to your own wall mural painting and wall sticker project.
So if you think we may be able to help you or have inquiries for design or to have wall paintings or wall stickers, you may reach me at the following:
Han
The Caveman Team
0166850069
kumpenghan@gmail.com
![]()
