
There are typically 3 types of playgrounds: Wood, Metal and Plastic – Which mostly hybrids of one another.
The typical choice of playgrounds for kindergartens has plastic components in them in the form of roof, barriers or slide. More than half of the kindergartens places their playground exposed to the sun out in the yard while the rest (through experience) kept them under a shade. Over time these playgrounds will deteriorate and colour fade over the span of 5 years.

Built since 2018 for 4k each – 6 years old
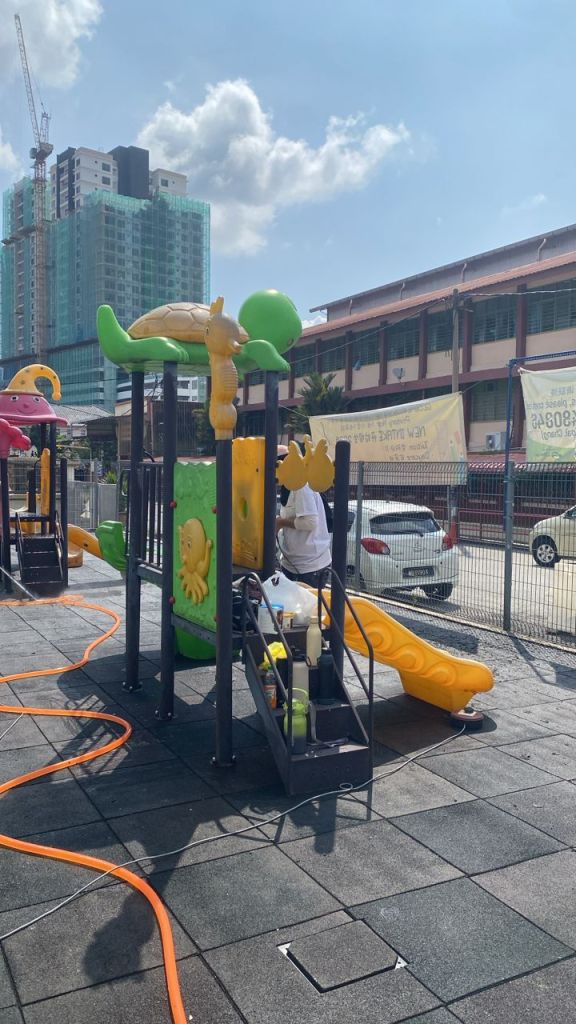
Although the colours have faded and worn out, playgrounds are still fully functional. The only draw back is it looks unappealing for the leads and customers who is in the premise – First impressions are really important.
Dismantling and disposing a fully functional and intact playground, while erecting a new one would be costly. Caveman allows playgrounds like these to rejuvenate these assets giving them new life and extending their lifespan. Here is how we do it.
Step 1 – Dismantling and cleaning
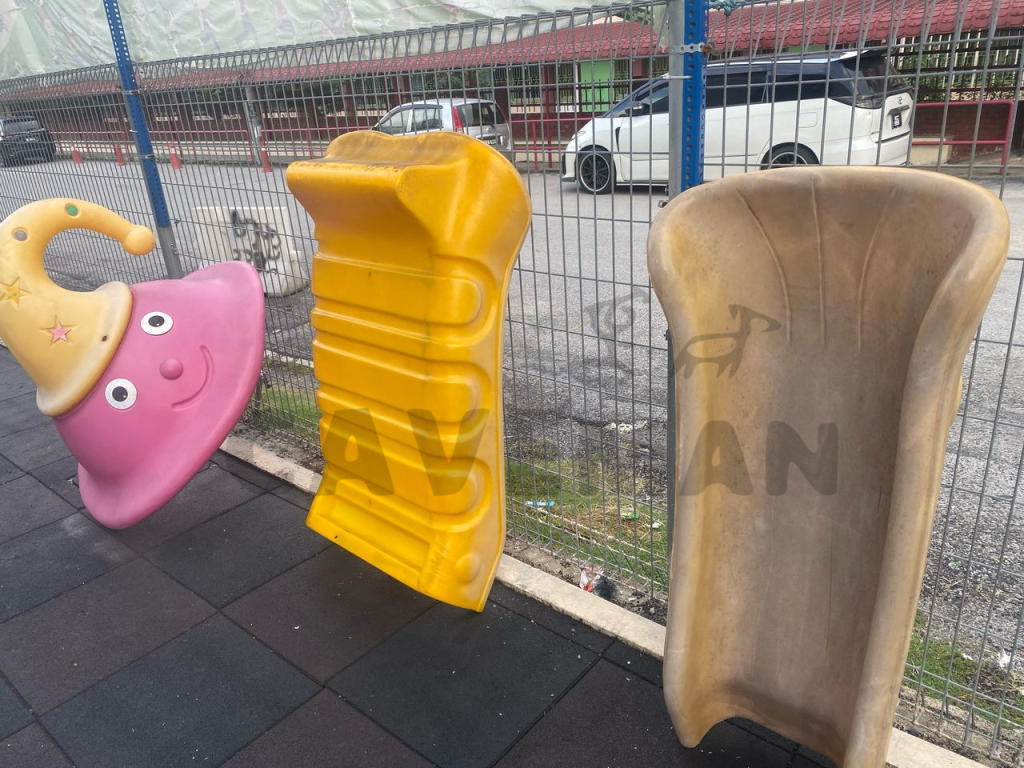
Over time all playgrounds will be dirty and require thorough cleaning. The first step is to dismantle the entire playground especially their plastic component structure and lay them around for further dousing/rinsing of water.

The next step is to prep the plastic for painting the surfaces. All plastic components are sanded using a sanding machine to roughen the surface of the plastics so that it could tightly receive a strong bind of the primer.
Priming the surfaces
A plastic primer is a chemical solution used for ensuring the paint will bind to the plastic surface after painting has cured. The primer will be sprayed on using a compressor to ensure speed and smooth surface thorough primer application. The primer will be left to cure for a duration of 8 hours. Plastic primers are transparent by nature.
Since we will be painting on all metallic structures of the playground, another metal primer is needed which also allows the paint to adhere strongly after painting. All metal surfaces are painted with red oxide primer that is mixed with a hardener.
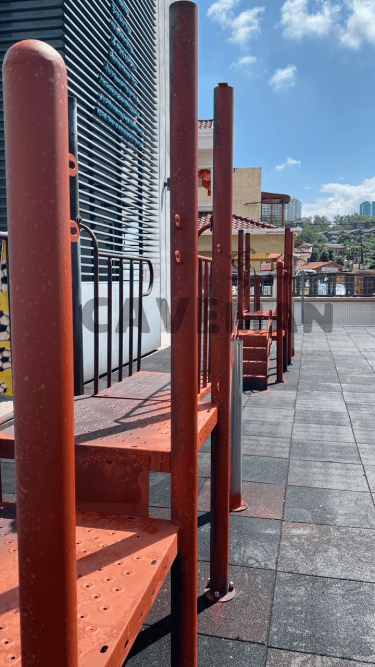
The primer red in colour is to bind the paint to the metal surface
Plastic components with plastic primer left to cure under the sun for 8 hours
Paint Application
The paint we will be using is not just any ordinary paint. Water based acrylic paints or gloss paints will not stand wear and tear for about 1 year. To resist colour fade and abrasion of wear and tear, a polyurethane base paint will be used. These paints unlike their epoxy counterparts are formulated to resist colour fade for over 5 years. To counter abrasion, the paint will also be mixed with a hardener of the same paint and hardener ratio. This will ensure even with all the knockings, stepping, rain and sun, it will still be as new.
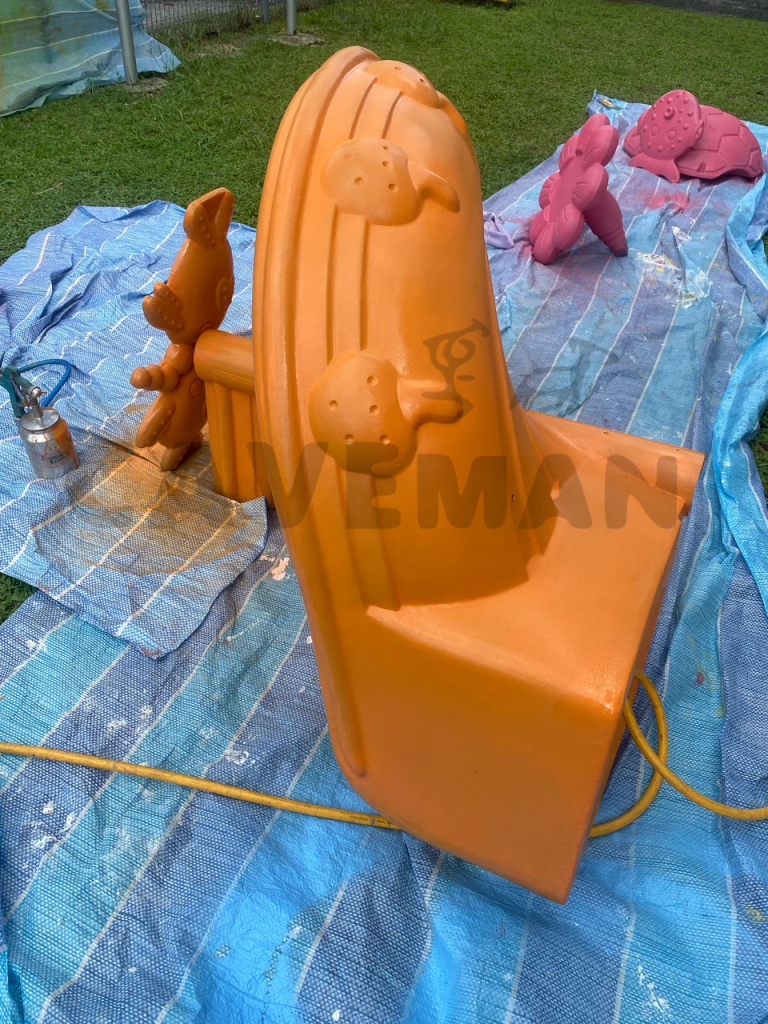
Playground plastic blocks are spray painted to ensure smooth wrinkleless surface
Using a compressor, diluted paint with thinner will be sprayed on all surfaces batch by batch and left under the sun to cure for at least 8 hours. The paint will eventually hardened and create a strong shell layer on the surface of the playground. The playground will be reassembled back to it’s original state the next morning. The total time taken for these 2 playgrounds restoration was 5 days, 10 litres of paint and 15 litres of thinner.
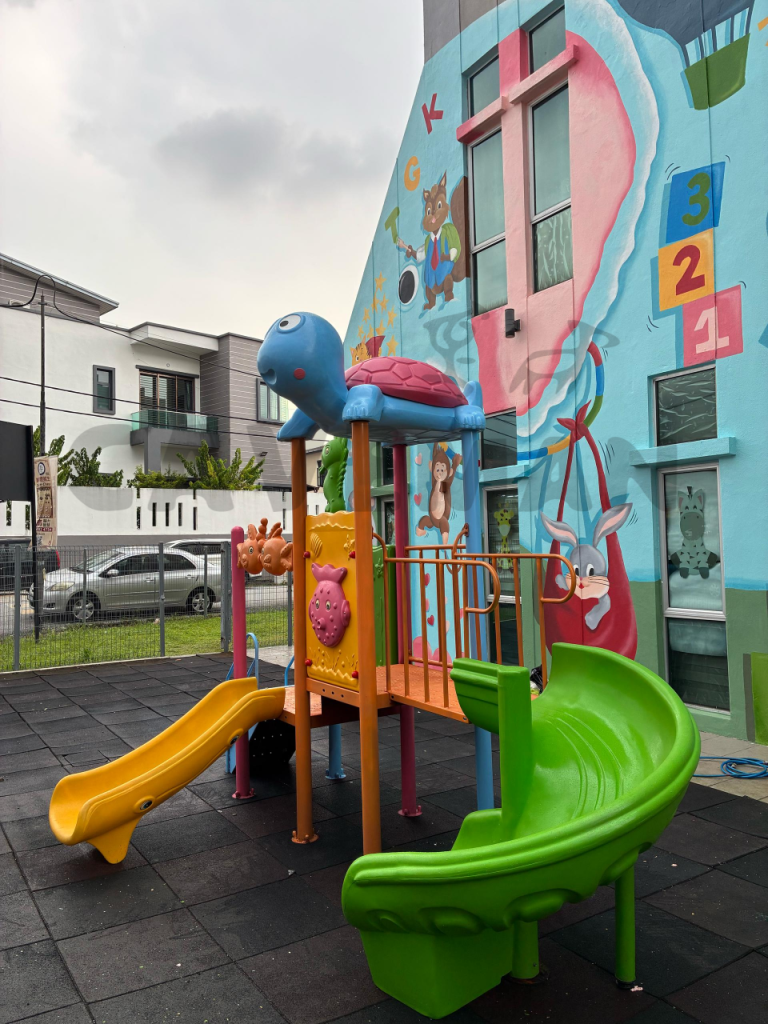
Finished assembled playground freshly painted with colours that suited the company
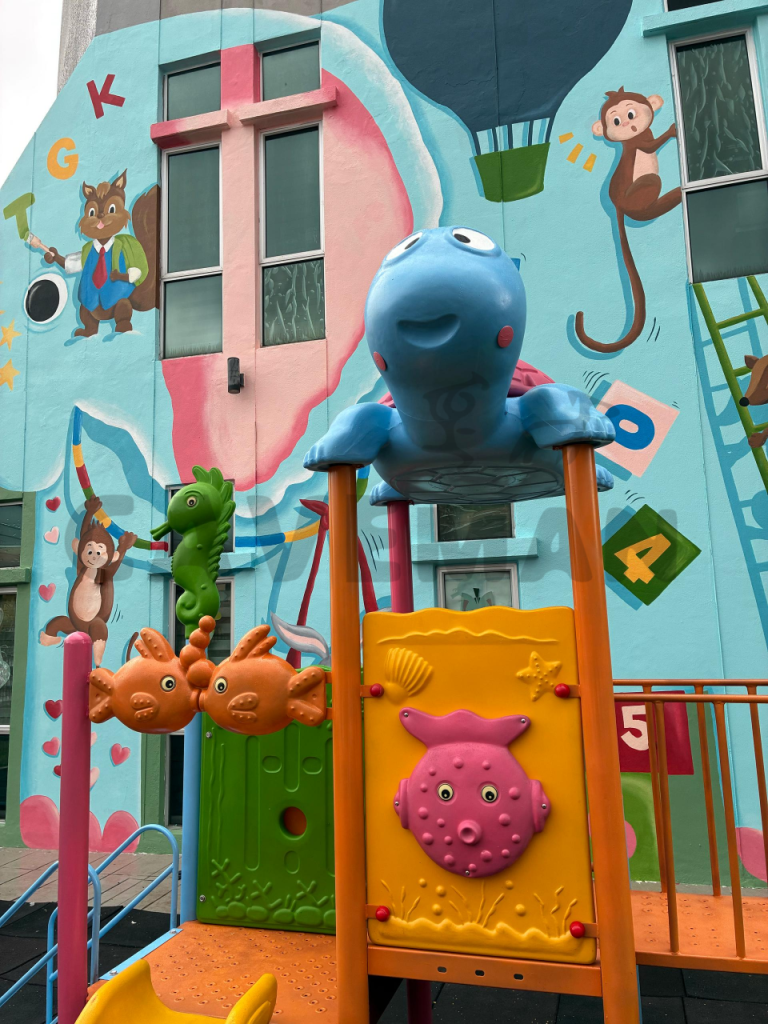
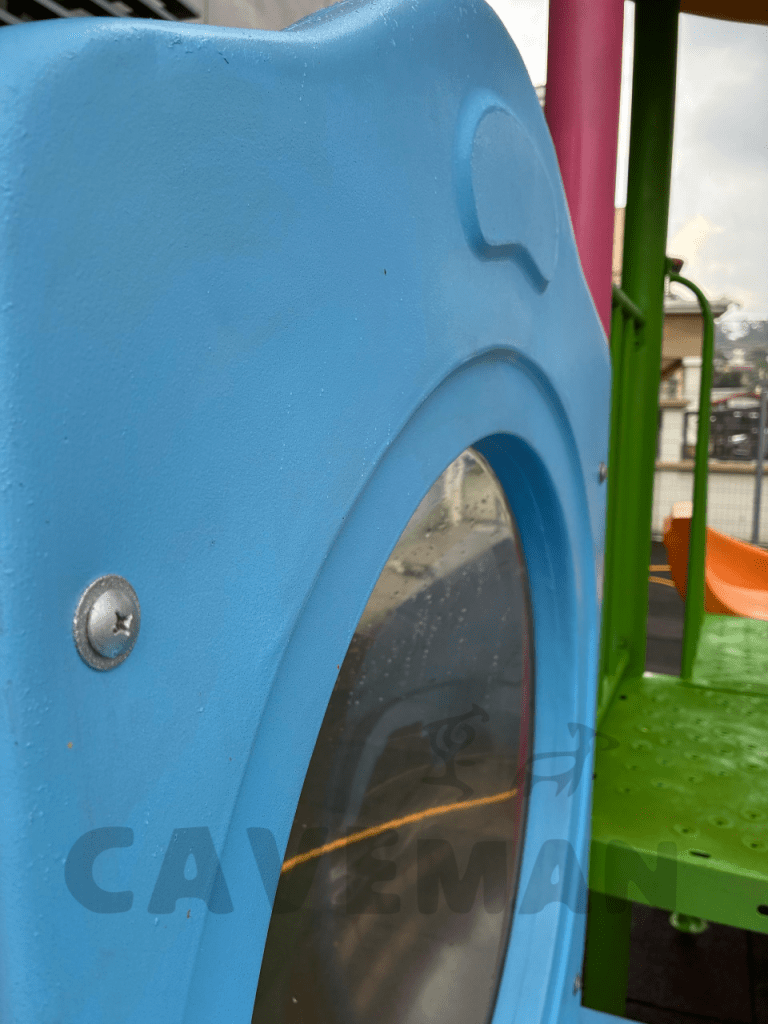
Upclose photos
Turtle eyes fell off, but was repainted back
Screws are also repainted with chrome painting to look shiny and silver again

Poles and surfaces are smooth and reflective like new due to spray painting technique

Cracks on plastic playgrounds are sealed with paint to eliminate scratches or injury
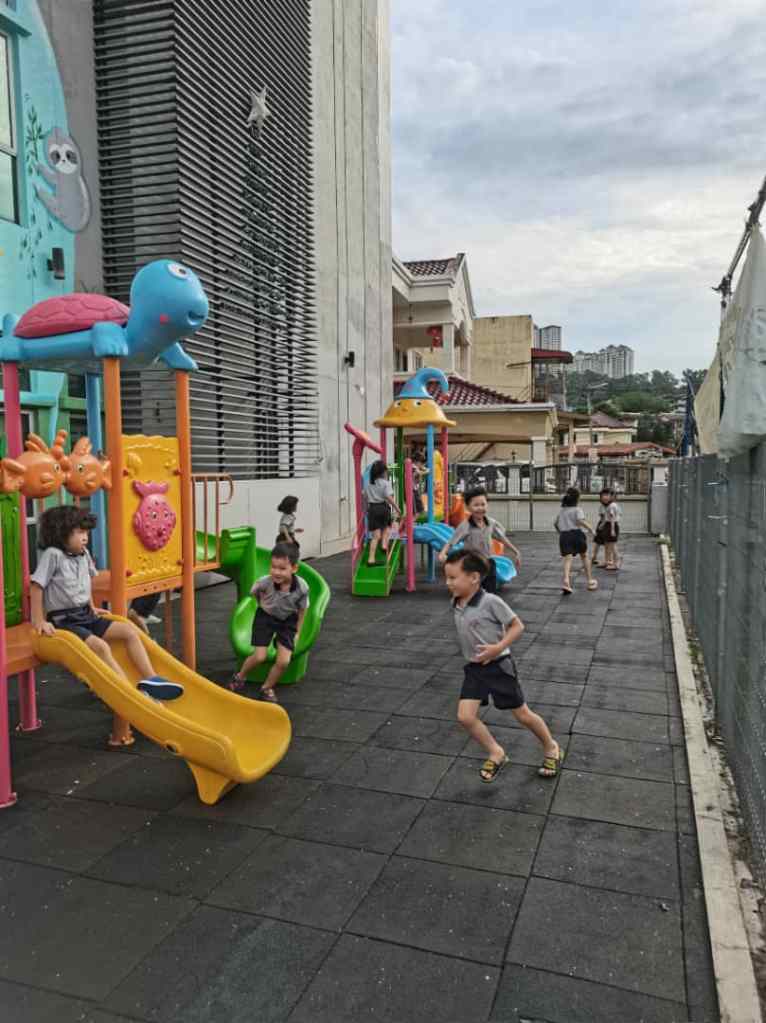
End of restoration


Thank you for reading the restoration post. If you have any questions feel free to reach out to Han personally at 0166850069.
